Home-canned Georgia Grown produce just tastes better.
Follow our 10-step guide to using a pressure canner to put up fresh, in-season green beans to enjoy all year long.
Note that these steps apply only for canning green beans. You can find steps to canning jams, jellies, and preserves here. A waterbath canner is not suitable for canning green beans. You will need a pressure canner to follow these steps. If this is your first time using a pressure canner, read USDA’s Principles of Home Canning.
10 Steps to Using a Pressure Canner with Green Beans

As always, start with clean, prepped jars, lids, and bands.
Step 1: Select your Georgia Grown green beans. Select filled but tender, crisp pods. Make sure to discard any diseased or rusty pods. A bushel of green beans weighs 30 pounds and can make 12 to 20-quart jars. You can think of quantity as about two pounds of green beans per canned quart.
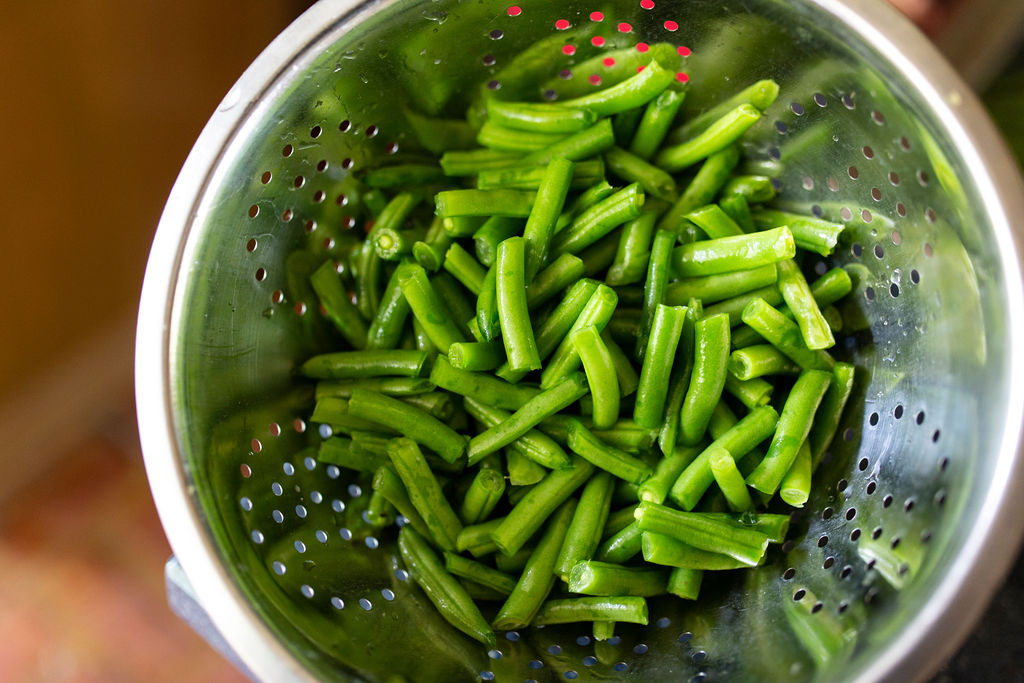
Step 2: Wash and dry beans. Trim the ends. You can leave your beans whole or cut or snap them into 1-inch pieces.
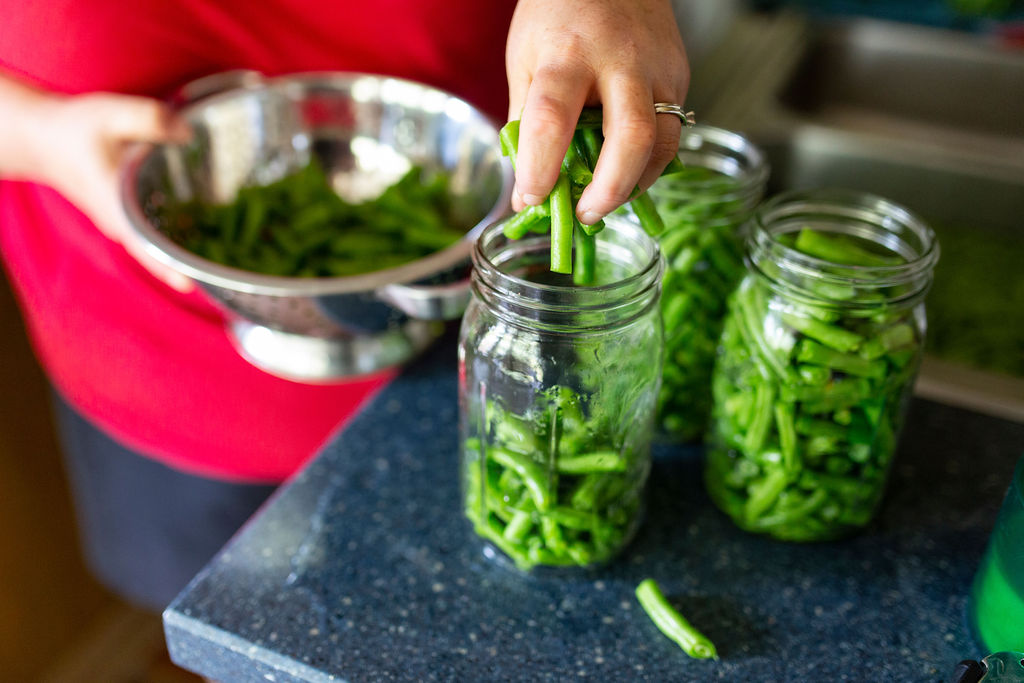
Step 3: Fill jars tightly with raw beans, leaving 1-inch headspace.
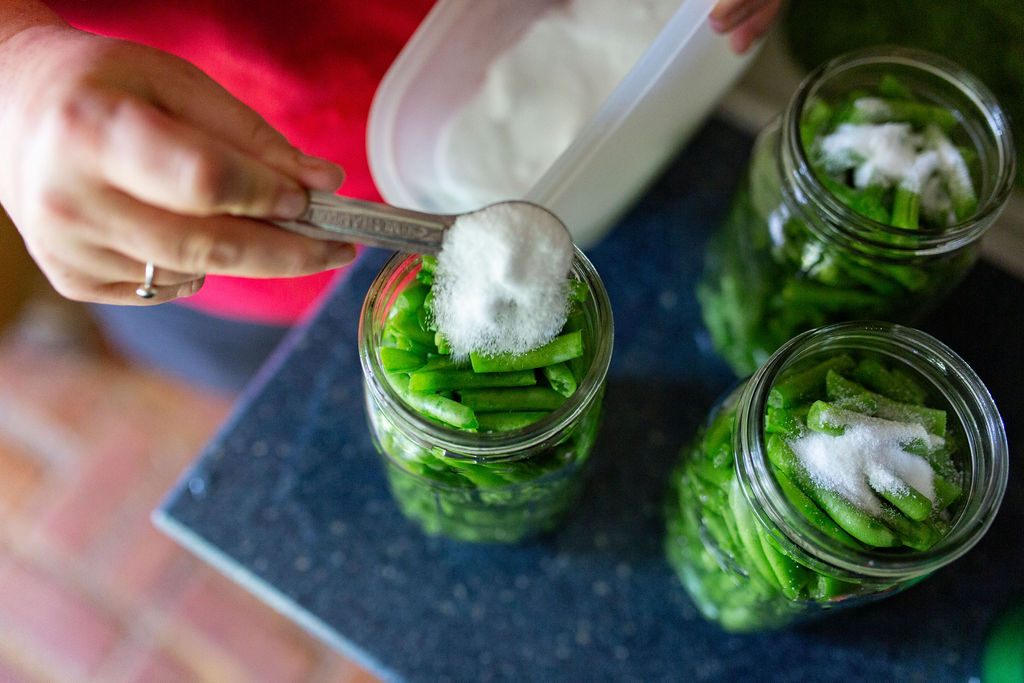
Step 4: Add 1 teaspoon of canning salt per quart to the jar.
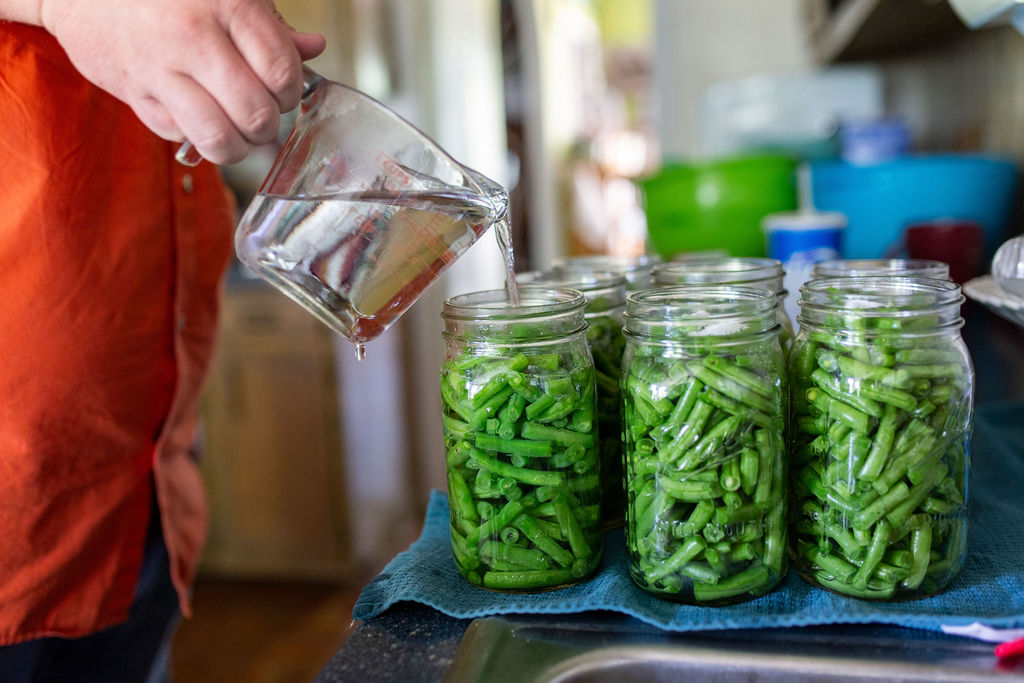
Step 5: Pour boiling water into the jar, keeping 1-inch headspace.
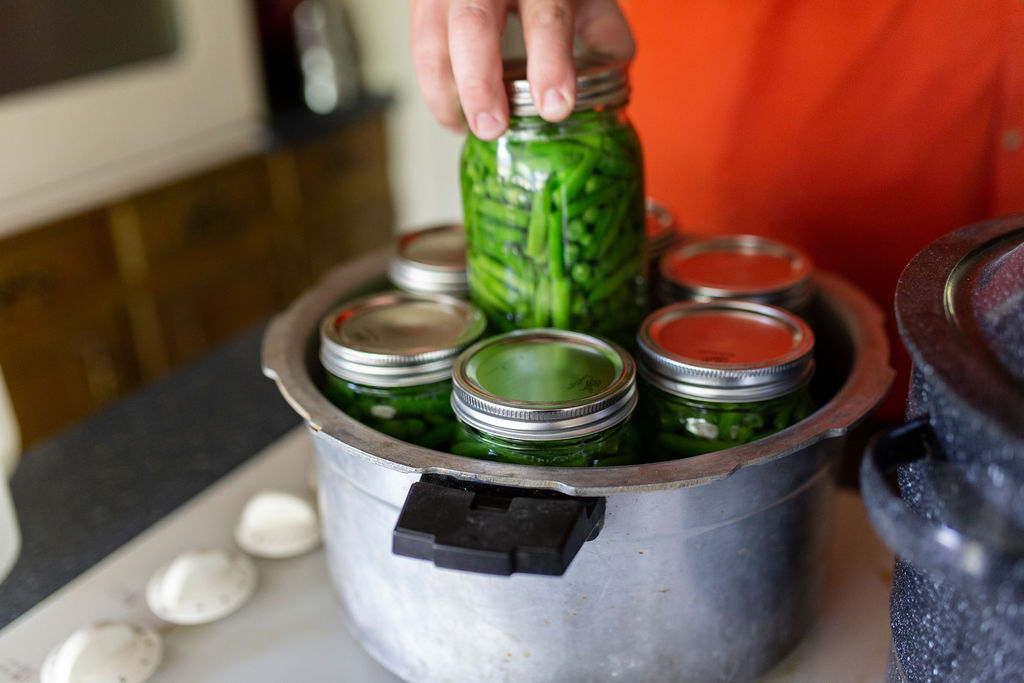
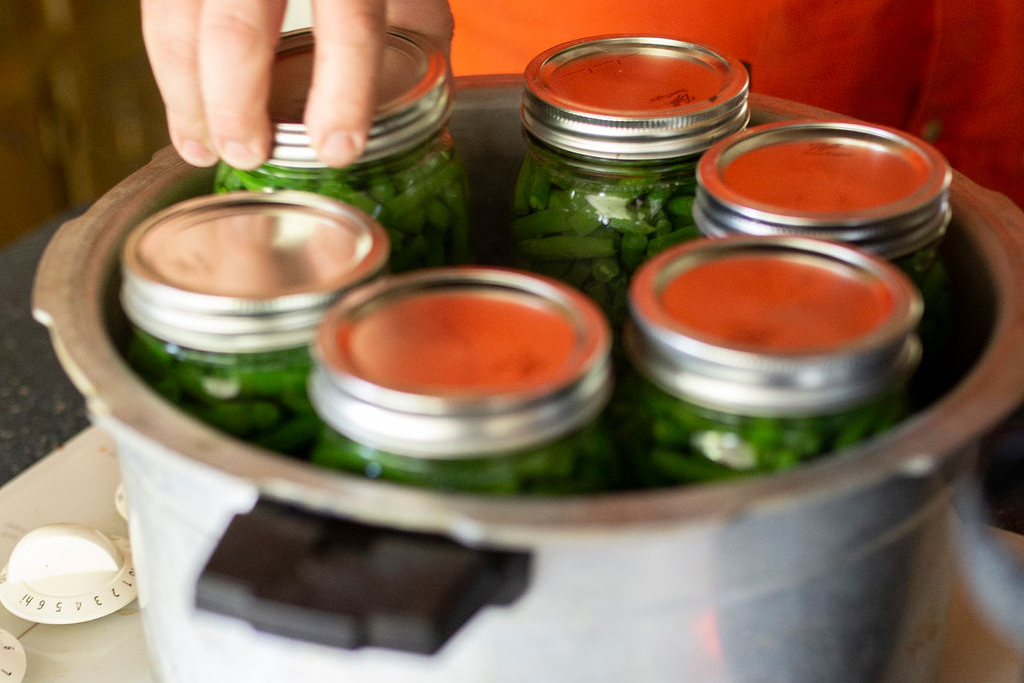
Step 6: Add lids and place cans in pressure canner. Remember, there is no safe way to can green beans using a waterbath canner.
Step 7: Follow the process time below based on the type of canner you are using.


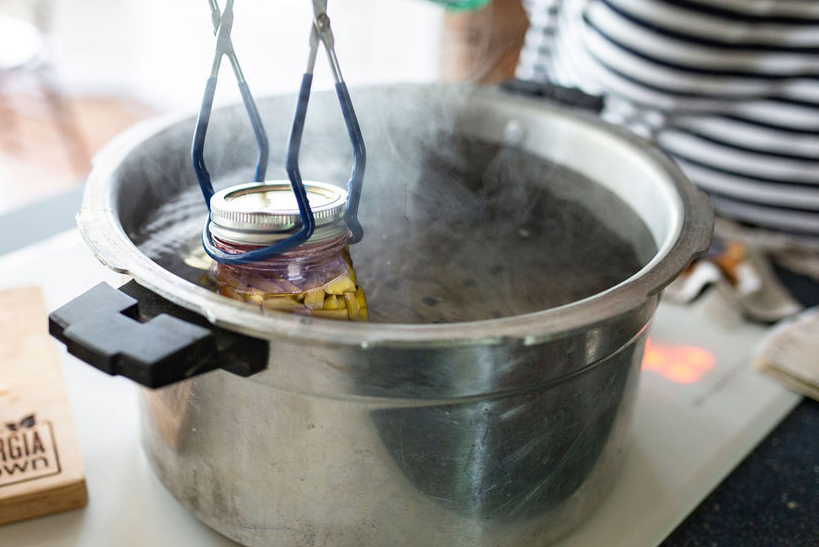
Step 8: Remove the cans from the canner using jar lifters. Do not retighten lids. Cool the jars at room temperature for 12 to 24 hours. You can set the jars on a cooling rack or towel to prevent heat damage to your countertops.
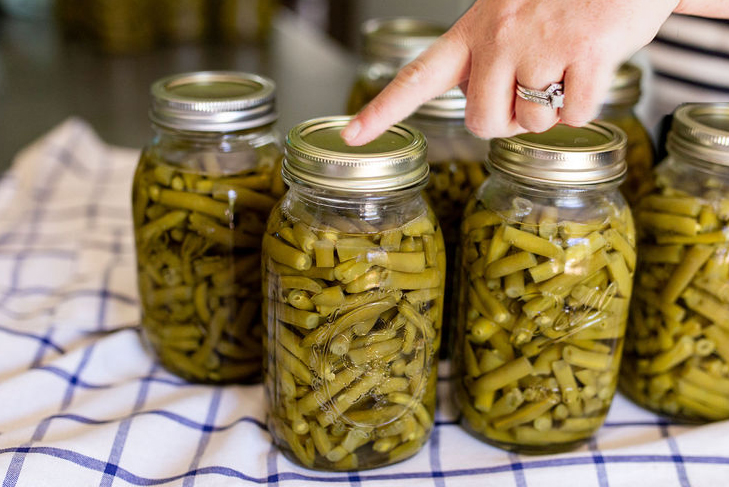
Step 9: After cooling for 12 to 24 hours, remove the screw bands and test seals in one of the following ways.
- Press the middle of the lid with a finger or thumb. If the lid springs up when you release your finger, the lid is unsealed.
- Tap the lid with the bottom of a teaspoon. If it makes a dull sound, the lid is not sealed. If food is in contact with the underside of the lid, it will also cause a dull sound. If the jar is sealed correctly, it will make a ringing, high-pitched sound.
- Hold the jar at eye level and look across the lid. The lid should be concave (curved down slightly in the center). If center of the lid is either flat or bulging, it may not be sealed.
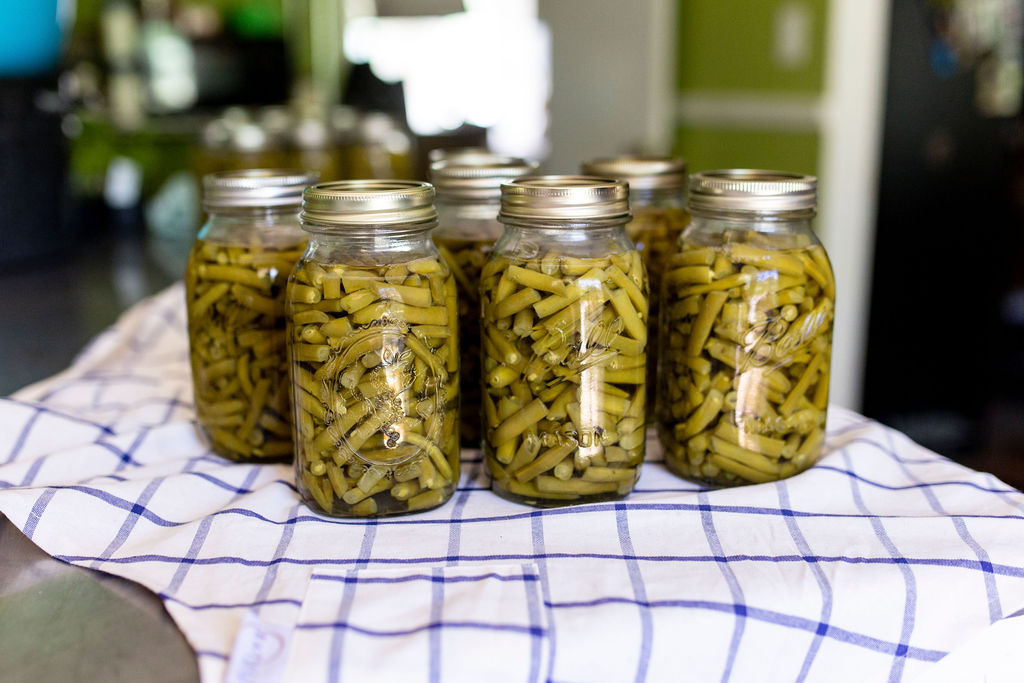
Step 10: Label and date your jars using our free printable labels and store in a cool, dark, dry place.
This guide is adapted from information from UGA Extension and USDA.